
前言
上一章最后讲了,更新配置以后需要重启客户端才能生效,这在实际的场景中是不可取的。由于目前Steeltoe配置的重载只能由客户端发起,没有实现处理程序侦听服务器更改事件,所以还没办法实现彻底实现这一功能。这一章的例子,客户端的部分我们采用Java来实现。Steeltoe更新以后我会及时把 .Net Core的实现方式补全。
实际上也并不需要重启,客户端调用IConfigurationRoot.Reload()方法也可以实现这个功能,但是去请求客户端也不是一个好办法,因为N节点的配置中心客户端你没办法一一去调用。
[HttpGet("/reload")]
public string Reload(){
    _config?.Reload();//刷新配置
    return _config?["name"];
}
代码部分
上一章我们一共创建了2个应用程序,一个配置中心服务端和一个配置中心客户端。在分布式场景中,任何单点都是有问题的,所以我们首先对其优化,两个配置中心服务端,三个配置中心客户端,并全部注册到服务中心。
创建配置中心服务端
首先还是创建一个服务中心的应用程序,参考第一章内容。
访问http://localhost:5000
打开网站返回表示创建服务中心成功。
然后创建配置中心服务端,参考第四章内容,我们通过修改配置文件来实现两个服务端。端口分别为5100,5200。
创建两个配置文件application-s1.properties,application-s2.properties
application-s1.properties
server.port=5100spring.application.name=config-server
spring.cloud.config.server.git.uri=
spring.cloud.config.server.git.username=xxx#
spring.cloud.config.server.git.password=xxx#git仓库目录#
spring.cloud.config.server.git.search-paths=xxx,xxx,xxx
eureka.client.serviceUrl.defaultZone=http://localhost:5000/eureka/
application-s2.properties
server.port=5200spring.application.name=config-server
spring.cloud.config.server.git.uri=
spring.cloud.config.server.git.username=xxx#
spring.cloud.config.server.git.password=xxx#git仓库目录#
spring.cloud.config.server.git.search-paths=xxx,xxx,xxx
eureka.client.serviceUrl.defaultZone=http://localhost:5000/eureka/
使用maven打包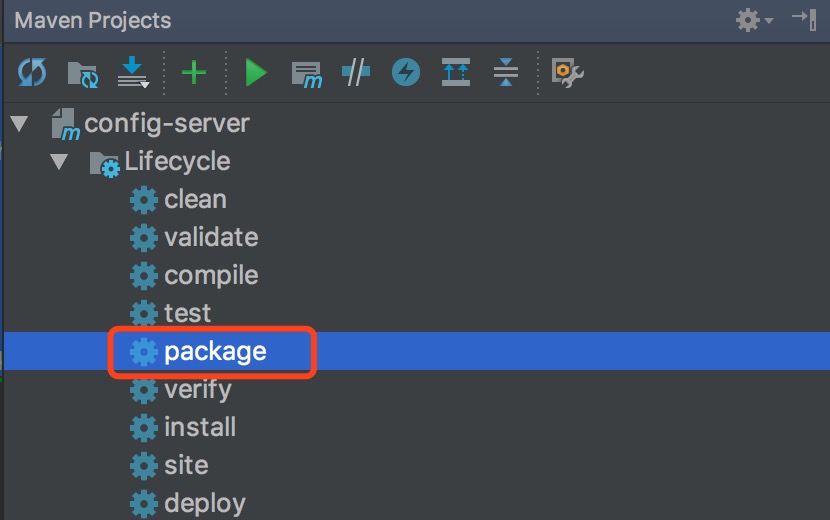
然后在终端分别执行命令行
java -jar target/config-server-0.0.1-SNAPSHOT.jar --spring.profiles.active=s1
java -jar target/config-server-0.0.1-SNAPSHOT.jar --spring.profiles.active=s2
可以开多终端或者直接在Intellij IDEA里面运行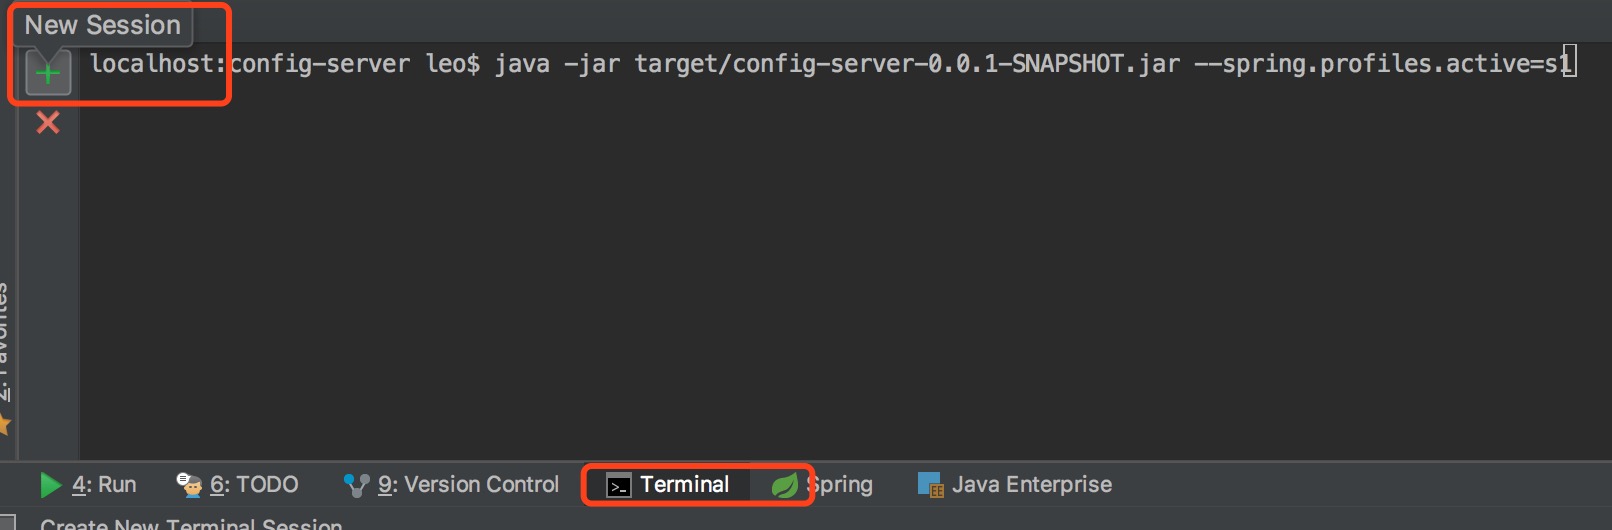
启动完成后分别执行
http://localhost:5100/demo/prod,
http://localhost:5200/demo/prod,
返回数据启动成功
创建配置中心客户端程序
使用IDEA创建spring boot程序
pom.xml
<dependency>
    <groupId>org.springframework.cloud</groupId>
    <artifactId>spring-cloud-starter-config</artifactId></dependency><dependency>
    <groupId>org.springframework.boot</groupId>
    <artifactId>spring-boot-starter-web</artifactId></dependency><dependency>
    <groupId>org.springframework.cloud</groupId>
    <artifactId>spring-cloud-starter-eureka</artifactId></dependency>
ConfigClientApplication.java
@SpringBootApplication@EnableDiscoveryClientpublic class ConfigClientApplication {

    public static void main(String[] args) {
        SpringApplication.run(ConfigClientApplication.class, args);
    }
}
Demo.java
@Component@ConfigurationProperties()
public class Demo {
    private String name;
     private Integer age;
      private String env;
       //get and set ...}
DemoController.java
@RestControllerpublic class DemoController {
 @Autowired
    private Demo demo;

    @RequestMapping("demo")

     public Demo demo() {
        return demo;
    }
}
为了模拟集群效果我们创建3个配置文件
application-c1.properties
spring.application.name=config-client
server.port=5101
application-c2.properties
spring.application.name=config-client
server.port=5102
application-c3.properties
spring.application.name=config-client
server.port=5103
同时要非常注意的是,创建一个bootstrap.properties,这个配置在application配置之前启动,相关的spring cloud config的配置都需要加到这个配置文件里面,加到application配置文件里面无效
bootstrap.properties
spring.cloud.config.name=demo
spring.cloud.config.profile=dev#开启服务发现功能
spring.cloud.config.discovery.enabled=true#服务id
spring.cloud.config.discovery.serviceId=config-server#服务中心地址
eureka.client.serviceUrl.defaultZone=http://localhost:5000/eureka/
打包代码分别执行下面3行命令
java -jar target/config-client-0.0.1-SNAPSHOT.jar --spring.profiles.active=c1
java -jar target/config-client-0.0.1-SNAPSHOT.jar --spring.profiles.active=c2
java -jar target/config-client-0.0.1-SNAPSHOT.jar --spring.profiles.active=c2
先访问http://localhost:5000/,服务都注册成功。
分别访问
http://localhost:5101/demo
http://localhost:5102/demo
http://localhost:5103/demo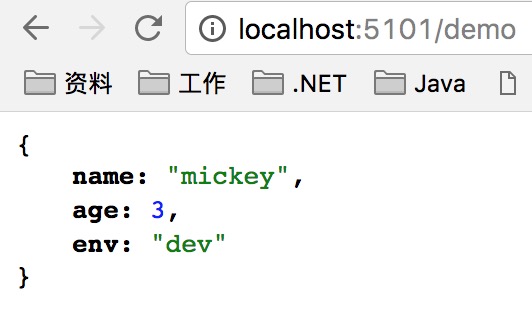
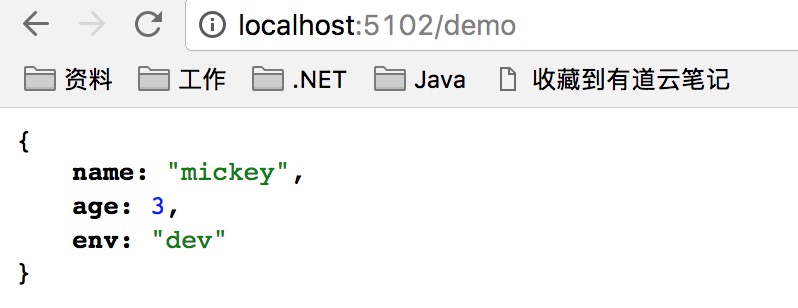
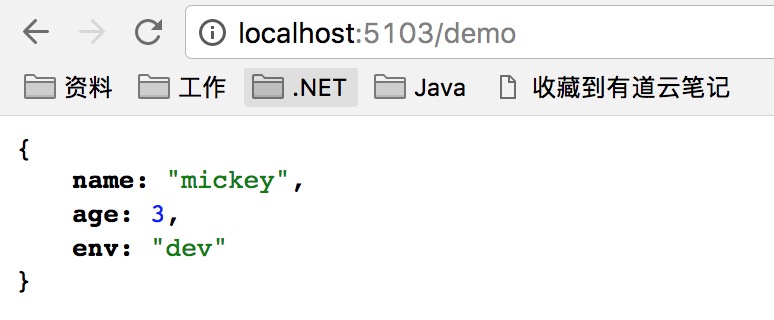
能够正常的访问数据了,但是如果我们修改git的配置信息,配置中心客户端并不会主动获取新的配置信息。我们想一下有没有办法当我们提交配置信息后通知给所有客户端呢?说到通知大家马上就想到了消息队列,通知多客户端的模式,是不是就是消息队列里面的广播模式?想明白这点我们继续看下面的内容,继续改造我们的程序。spring cloud config提供了消息队列模式,通过调用提供的REST接口来通知到客户端来更新配置。
首先安装rabbitmq
我们继续改造配置中心的服务端和客户端
服务端和客户端的配置一样
pom.xml 添加mq的扩展
<dependency>
    <groupId>org.springframework.cloud</groupId>
    <artifactId>spring-cloud-starter-bus-amqp</artifactId></dependency>
application.properties 添加mq的配置信息
spring.rabbitmq.host=localhost
spring.rabbitmq.port=5672spring.rabbitmq.username=guest
spring.rabbitmq.password=guest
management.security.enabled=false
分别启动这5个服务(2个服务端,3个客户端)
修改demo-dev.yml
name: mickey2017并提交到github
rabbitmq提供了一个REST地址来刷新mq通知客户端。我们通过postman或者命令行来模拟post提交:http://localhost:5100/bus/refresh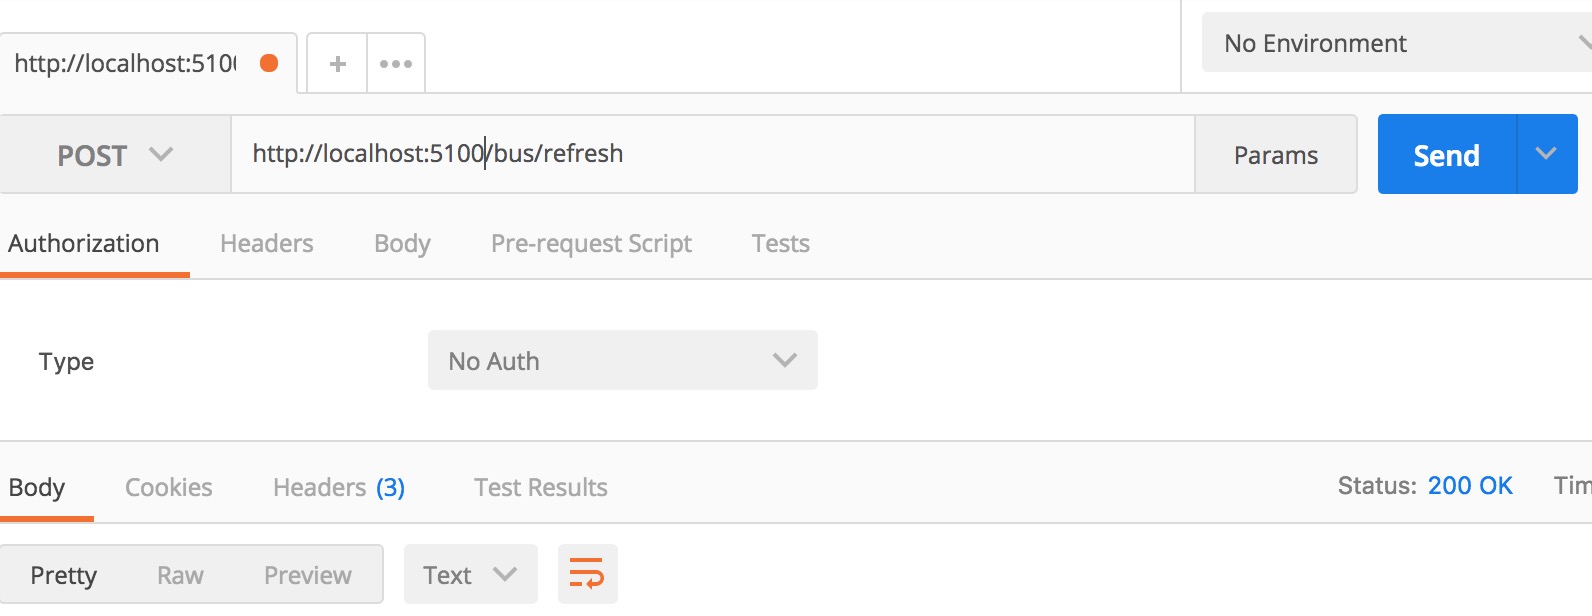
这里调用5200也是可以的,调用客户端的3个端口一样可以 (http://localhost:5101/bus/refresh) ,前面说了调用客户端是不可取的,所以我们调用服务端的地址。
最后访问http://localhost:5101/demo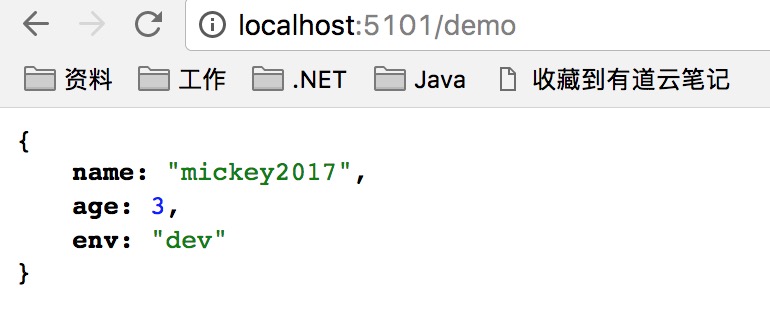
后记
通过这一章内容我们我们成功的改造了配置中心,实际的开发场景,我们总不能更新了配置就手动去模拟post提交吧?所以我们可以借助git的webhook功能,当提交代码以后就给配置中心服务端发送请求。再想深入一点,配置中心服务端不对外网暴露呀?那么我们可以用过通过Api网关来访问,同时使用服务发现的方式,又解决了要指定具体配置中心地址的问题。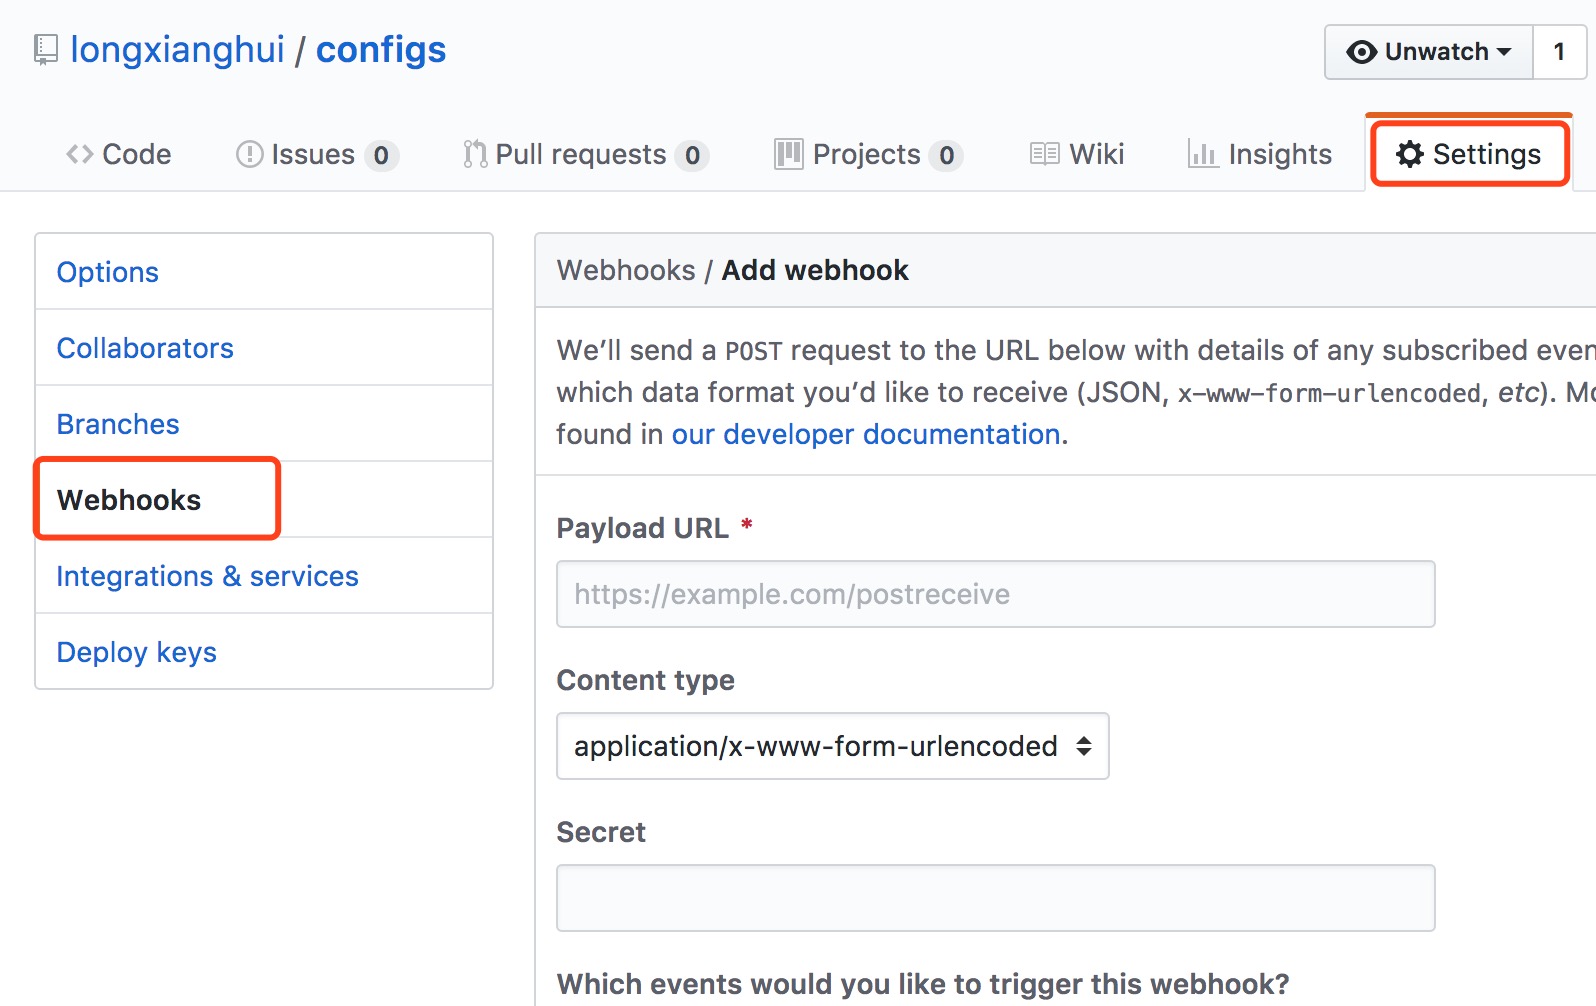
最近群里面总有同学问授权的问题,那么我们下一章讲微服务下的Api授权。
示例代码
所有代码均上传github。代码按照章节的顺序上传,例如第一章demo1,第二章demo2以此类推。
求推荐,你们的支持是我写作最大的动力,我的QQ群:328438252,交流微服务。
原文地址: http://www.cnblogs.com/longxianghui/p/7687825.html
参考资料
java部分
.net部分